Thursday 19 November 2015

WIP Wednesday: Hexagon Quilt November 2015

I'm afraid I don't have much progress to report on the hexagon quilt front :(

You may remember this one...
from a month or two ago

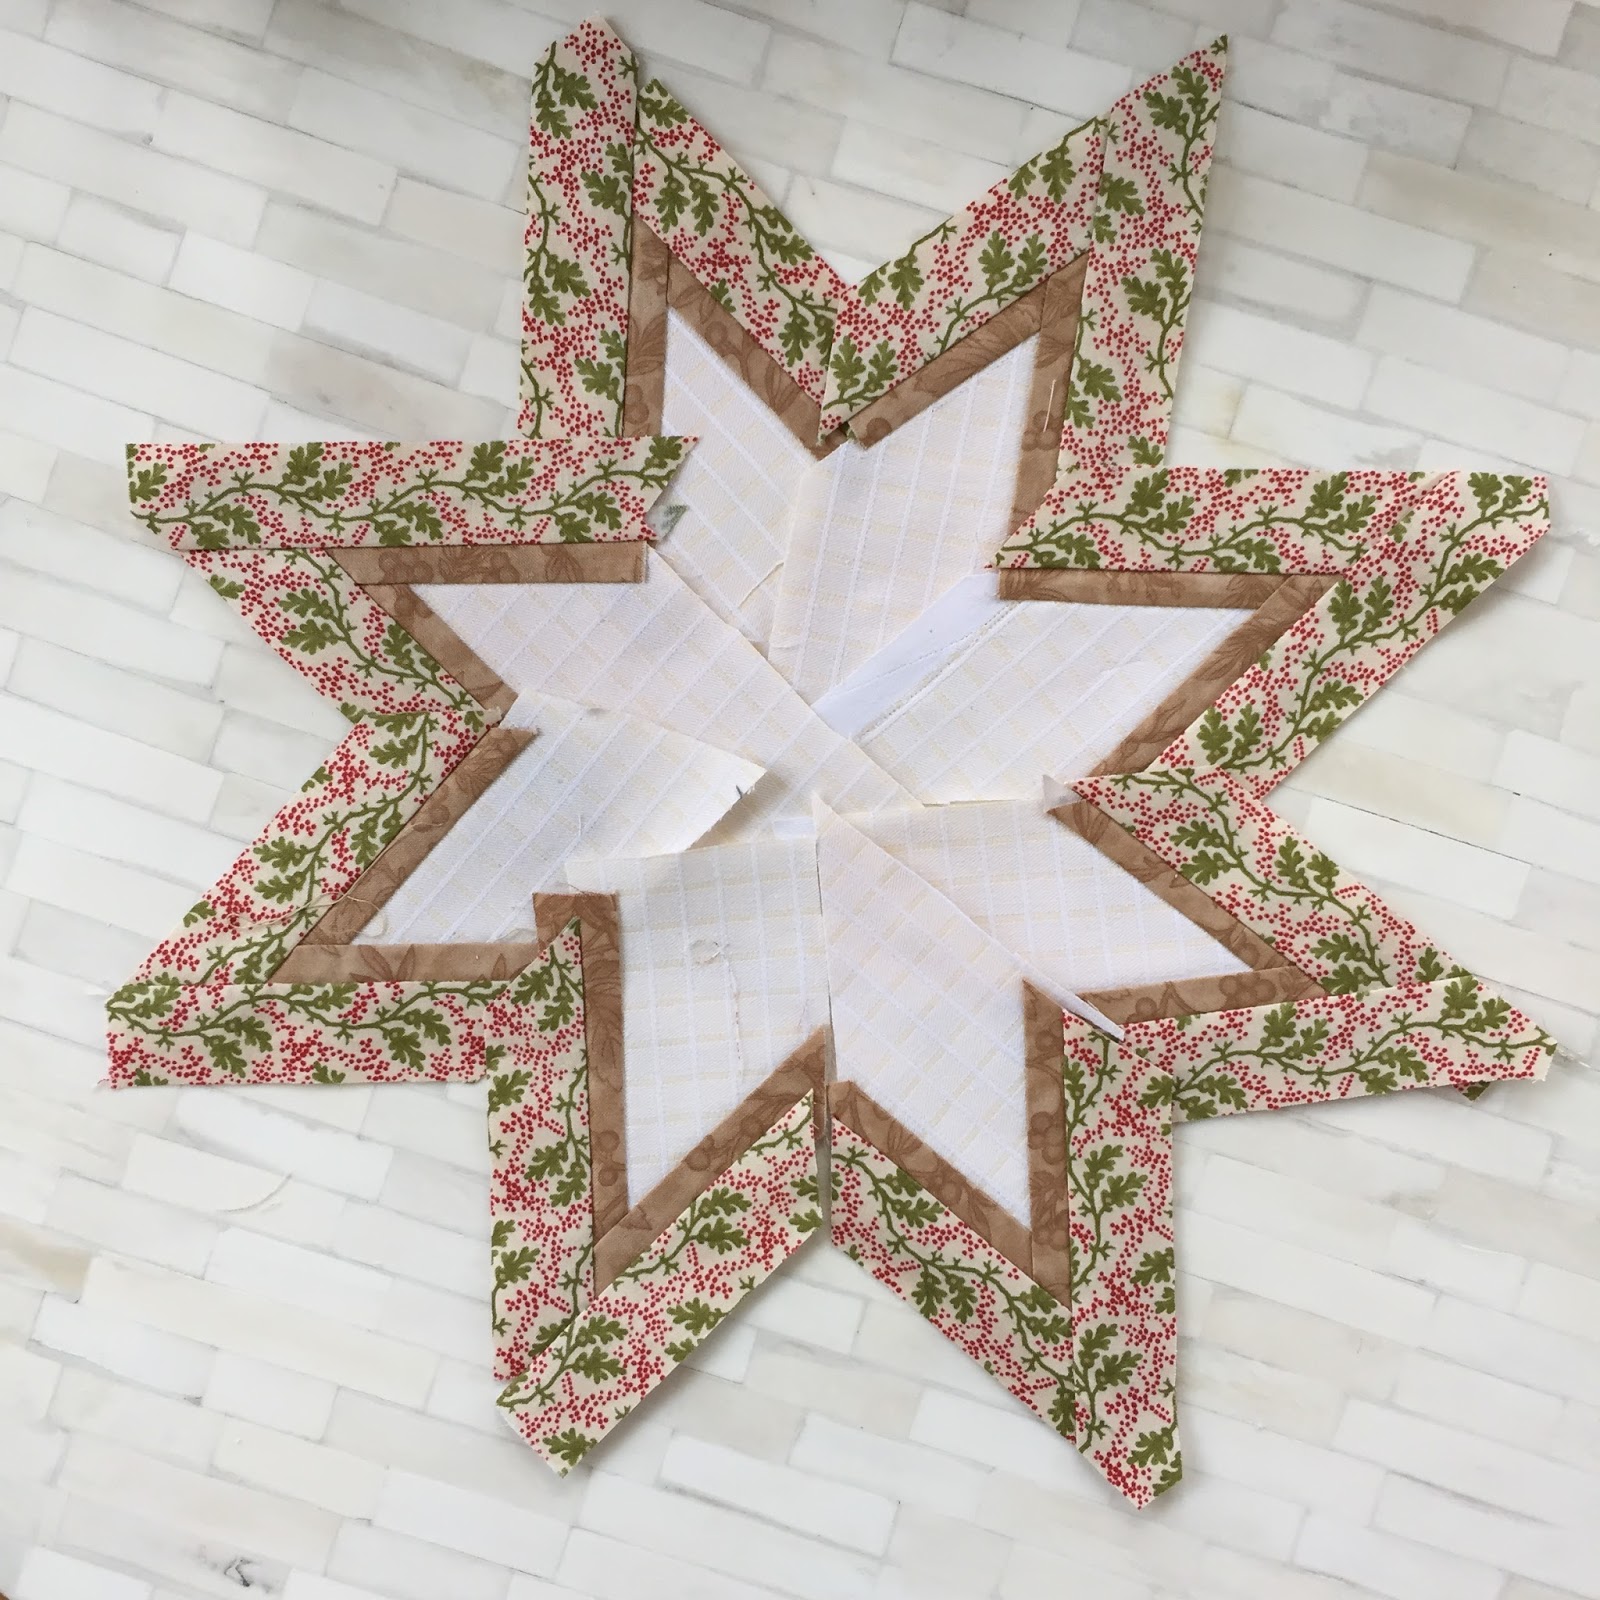
My stitching on the tube plans were scuppered by the fact that I suddenly found myself on a project that allowed me to walk to work (not that I'm complaining about that in the slightest). However, now that I've found myself in Geneva for two months (very exciting!) I've managed to do a bit. Actually, I didn't bring sufficient supplies and have now run out of hexagons to sew together. Luckily, I will be flying back to the UK for the 1st weekend of December so I can stock up then.

Running low.
Nothing I can really do this these at present.

Speaking of stocking up, I seem to have run out of the white fabric I was using. I'm now obsessing about matching said fabric exactly, which will probably not be possible as I have no idea where it came from in the first place. My obsession with irrellevant details is really not helping. I've also decided that I need to match the background blue on this fabric ("Painted Mums" from Heather Bailey's discontinued "Fresh Cut" range), which is going to be tricky to say the least. Any advice?

Love, me xx

P.S. I'm linking up to Work in Progress Wednesdays over at Freshly Pieced.

Wednesday 28 October 2015

WIP Wednesday: Pin-up tea towels

Current work in progress: embroidered tea towels with 50's style pin ups.

Pin-up tea towels: WIP

I love Sublime Stitching's "Most Awesome Tea Towels", which really are the best every for embroidery and for drying your dishes. Excitingly, I recently discovered that Ray Stitch, which is just down the road from me in Islington, carries Sublime Stitching embroidery patterns.

More soon,
Love,
me x

P.S. I'm linking up to WIP Wednesdays over at Freshly Pieced


Saturday 17 October 2015

Finally finished: Hidden Stars

It's finally finished!

I started this quilt as PhD write-up procrastination and now, two years after submission, it's finally done!

Hidden Stars: Done and dusted
Started: June 2013
Finished: October 2015
Size: Originally 135 x 135 cm now 190 x 190 cm (with sashing) 
Quilt top: Oak Leaves and Reel by Moda
Backing: Old duvet cover from my grandmother's house (pieced together as it wasn't quite big enough)
Binding: Dark red lining fabric
Batting: Hobbs Heirloom wool batting
Quilting: Machine quilted in the ditch and diagonals, borders in diamonds and stripes.

Label: Foundation pieced 8-pointed star, hand embroidered

I'm very pleased with how the quilt label turned out and so glad I took the time to make a proper one this time - it turns a rather boring, plain backing into something rather pretty, if I do say so myself.

Hidden Stars: Quilt back and label
I also really like the way the centre star is iridescent in the light. It's difficult to photograph but you can sort of see it on this photo:
Hidden Stars: shiny shiny star!
One last photo just because it was such a pretty day to go for a walk with a quilt:


Hidden Stars: Going for a walk in the park
I will endeavour to find some sunnier spots for photographs next time the sun is out on a weekend (might be a while then...)

Love, me x
P.S. I am linking up to Finish it up Friday over at Crazy Mom Quilts because I've finally got something 100% finished to show off :) :)

Wednesday 14 October 2015

WIP Wednesday: Hidden Stars - the push for the line

I'm just putting the finishing touches on my hidden stars quilt. After much musing and scheming, I finally decided on a design for the quilt label and decided to try out foundation paper piecing for the first time while I was at it.

I used this great template from the wonderful Anna at Six White Horses. Thank you Anna!

Step 1: Foundation piecing the star


As I wanted to finish the star's edges as opposed to piecing it with a background, I trimmed the edges down to 1 inch, folded and pressed them and then hand-appliqued the finished embroidered star to the back of the quilt.

Step 2: Trimming the edges down
 
Step 3: Trimmed and ready to press


As usual, I forgot to take photos of each step. Here is one of the final product being appliqued to my backing:

Step 6: Applique


Almost done!

Love, me x


P.S. I'm linking up to WIP Wednesday over at Freshly Pieced

Saturday 19 September 2015

WIP: Hexagon Quilt September 2015

I've recently taken to working on my hexagon quilt on the tube in the mornings. It's only a 10 minute journey and I only have a seat about 50% of the time but I've been making some (very slow) progress!

Hexagon quilt: tube ride WIP

On my recent trip to St. Petersburg I finally managed to decide on the overarching design and the quilting. I also want to do some fancy quilting in the white triangles that the design creates and have been playing around with the idea of using my initials in an art deco style font but I might do some sort of geometric design instead.

Hexagon quilt: design sketches

I'm planning on making a king sized quilt so the dimensions of the sketch aren't right but you get the idea. I laid everything out on my queen sized quilt today to see what it looks like in real life:

Hexagon quilt: design layout

Progress so far:
Individual flowers: 2 green, 12 pink
Sections: lots of bits sewn together - the longest continuous bit current has about 8 flowers
Total flowers:37
Loose basted hexagons: 24 white, 115 print

Hexagon quilt: 14 flowers waiting to be connected

I'm going to need a lot more white hexagons! I'm not sure whether to be lazy (and applique the flowers on to a white background) or crazy (and piece the white sections from individual hexagons). Being generally crazy, I'm leaning towards option 2. What do you think?

I'm flying to Germany for a wedding next week so hopefully I'll get a few more done on the aeroplane.

Love,
Me x 

P.S. This week I'm linking up to with Jessica's Monday Morning Star Count. There are some gorgeous projects going on over there - you should check them out some time!
Check out WIP Wednesday over at Freshly Pieced as well. Seeing what everyone else is working on really motivates me to do more sewing - even if it's just some hexagons on the tube.

Wednesday 9 September 2015

WIP Wednesday: Hidden stars binding

Hidden stars is almost done! I'm in the process of sewing on the binding. I managed to finish two sides before my poor little fingers got sore and my shoulders got stiff. I have terrible posture when I'm hand sewing.

Here are some snaps:

All squared up and ready to bind

WIP: Hand sewing the binding to the back

WIP: Front view of binding
Time to start scheming for the quilt label. I've promised myself that I will actually take the time and make an effort with this one instead of just sewing on a square bit of fabric with an embroidered name and date. Perhaps something star shaped...

I'm linking up to WIP Wednesday over at Freshly Pieced aka the font of all inspiration.

Love, 
me x

Saturday 29 August 2015

Shopping shenanigans: RayStitch in Islington

Last weekend I took a little cycle ride to RayStitch near Angel. I've bought fabric and notions from their online shop in the past but it's taken me almost a year of living in our current flat to realise that the physical shop isn't actually all that far away.


RayStitch in Islington - love the deckchairs!

Anyway, I popped by on Sunday morning and after spending a rather long time exploring, flicking through their great selection of books, and knocking a thing or two off the shelves, I came away with the marking pens I was after in the first place and these fine flat-head pins for my upcoming silk blouse project using the pretty fabrics I bought last year. 

Shopping loot
Clover marking pens and fine flat-headed flower pins

I am so proud of myself for not buying ALL OF THE THINGS (which was really hard because that little shop is jam-packed with awesomeness). As the lovely lady said as I was leaving, she'll be seeing a lot of me in the future!

Love, me xoxo

Sunday 23 August 2015

Oh, YLI hand quilting thread, how do I love thee?


Oh, YLI hand quilting thread, how do I love thee? Let me count the ways. (I also love Elizabeth Barrett Browning)

This is why YLI hand quilting thread is awesome.

1. It comes on these handsome wooden spools.
Which are so much more awesome than the plastic ones.

YLI hand quilting thread - white

2. The colours are glorious!
I want to buy them ALL!!!! Also, Christmas is coming up in the not so distant future. Just saying.

YLI handquilting thread
green, spring green, yellow, peach


3. 100% glazed cotton.
I prefer natural fibres for (almost) everything in my life. Poo poo polyester.

YLI hand quilting thread
100% glazed cotton


4. Good value for money.
At 367 m (400 yards) per spool for £4.50 or $4.95 or €6.50 I can shop around the exchange rates to get a pretty good deal (oh, the joys of being a cosmopolitan quilter).

5. Pretty tangle resistant.
There's this German saying: "Langes Faedchen, faules Maedchen" which translates to "long thread, lazy miss" - I'm definitely lazy and would much prefer to work with a longer piece of thread and avoid tedious sewing up of the end as much as I can. There, I said it. AND I sometimes knot my threads at the end, even when I'm embroidering.


6. Just the right thickness.
Currently, I quite like the look of a slightly thicker, firmer thread in my hand quilting. I've used YLI's silk thread for projects that require a more delicate line in the past. While the colours are beautiful it is a bit fussier to work with. The 100% cotton thread is just the right thickness and firmness in my opinion. Also, I can cut it with my teeth and get a nice, clean end (ssshhh- don't tell my mother!) which, given the amount of time I spend scissorless on aeroplanes, is important.

7. Colours! All of the colours!
Did I mention the colours? Sooooo pretty!! I want them all so I can arrange them in battle formation to my heart's content. I am obsessed with rainbow order. I call it rainbow order just to annoy my physicist boyfriend (The Boy), who likes to insist that it's called wavelength order. Rainbow order makes me happy. 

YLI hand quilting thread
brown, ecru, cream, white

I've recently started quilting with YLI's 100% cotton machine quilting thread and it, too, is excellent. Not a single instance of broken or tangled thread yet and I swear it produces a less lint in my machine than other threads I've tried.

Then of course there is YLI's gorgeous silk thread. I've got two beautiful new colours just waiting for me to try them out. The colours are so intense and shiny that the photo below just doesn't do them justice.

YLI silk thread - sky blue, leaf green
 

I've just ordered some more of the ecru machine quilting thread for my current project - fingers crossed that it arrives in time for the bank holiday weekend; I have grand plans to finally finish my Hidden Stars quilt.

Love, me xoxo

Friday 21 August 2015

WIP: Hidden Stars Quilt - slowly but surely

Progress! I've actually managed to get a big batch of the quilting done on the Hidden Stars quilt. Over the past week I've got all the quilting on the main body of the quilt done, which is a major achievement and was only possible because I've been fortunate to be working from our London office this week. All the travelling I do for my job is wonderful but it does make machine quilting in the evenings a little difficult.

Here's my quilting plan / diagram:

Hidden Stars - quilting plan V1.0
Here's the current version of the quilt itself. As you can see my diagonals really aren't that great, but I'm still telling my perfectionist self that all the issues add character.

Hidden Stars - quilt back

This may also be because I eyeballed a lot of it, mainly because the yellow chalk I was using doesn't show very well on the lighter fabrics. 

Hidden Stars - marking up for quilting

The above photo is actually a pretty good example of my improving-but-still-not-great attempts at in the ditch quilting. The Quilt Queen says to go slowly and that practice makes perfect. Practice-schmactice. All of the things should be perfect NOW!

Anyway, here's the current status, all pinned up and ready for me to quilt the border sections this weekend:

Hidden Stars - quilt top ready for border quilting
I'm not really sure how I'm going to quilt the borders yet. I want a design that will add lots of texture so I'm currently thinking of lots of parallel, closely spaced lines in the second cream border. It would be great to do some sort of cross-hatched pattern on the outermost one but I think that might be too much of a faff and that my quilting skills just aren't quite good enough for that yet.

I was planning on getting that bit done this weekend and then attach the binding next week so I really should decide soon. Any ideas?

Love, me xoxo

Saturday 15 August 2015

WIP: Hidden Stars Quilt


I've been working on this quilt for... a while now and kept meaning to post an update. At least I'm getting better at the photo taking bit of the equation so here's photographic evidence of the progress I've made so far.

Hidden stars - status Winter 2013


Started: June 2013
Finished: WIP
Size: Originally 135 x 135 cm now 190 x 190 cm (with sashing) 
Quilt top: Oak Leaves and Reel by Moda
Backing: Old duvet cover from my grandmother's house (pieced together as it wasn't quite big enough)
Binding: tbd but planning a dark red binding to match the centre star
Batting: Hobbs Heirloom wool batting
Quilting: In the process of machine quilting

I've wanted to make this quilt ever since I saw the pattern in this fabulous book by Pam Linttot. It took me absolutely ages to find the same fabric that is used in the book but luckily ebay and online fabric shops are my friends.

I keep putting this quilt on hold - first because I needed to concentrate on getting my PhD thesis written, then because I started a new job and then because I've spend most of the past year travelling for work. Every so often I'd cart it over The Quilt Queen's place and we'd have a great time fiddling with it. Unfortunately, there never seemed to be enough time to get it actually done. Luckily, The Quilt Queen gets very excited about new quilts and likes to keep them at her house and fix things after I leave.

The Quilt Queen and I had a great time over Christmas 2014 choosing sashing and assembling the rest of the quilt top.
Hidden stars - status January 2015
This past January we took ourselves to a lovely hotel and spa for a couple of days of massages, saunas and sewing. The living room of our suite was *just* big for the quilt once we shoved all the furniture against the walls. I had such a lovely (and productive) weekend that I'm hoping that we can make this a regular mother / daugher trip. We took granny along as well, which was lovely, but she didn't really understand why we were doing "work" on the quilt while we were meant to be on a relaxing weekend.
Hidden stars - pin basting January 2015

Anyway, we managed to get all of the safety pin basting done as well (much easier with two people). Getting the quilt and my new sewing machine back on the plane was ... interesting. Thank heaven I was flying BA!

The quilt has been gracing my sofa in all of its unfinished mess glory since January. I finally started quilting it today. My mother got an all-singing all-dancing giant sewing machine of awesomeness for Christmas and has given me her old Singer Samba. It's so nice to have the sewing machine that my mummy taught me to sew on and it's so much better and more powerful than the one I've been using.

Hidden stars - quilting (and new sewing machine!!)
I've spent a lovely afternoon doing some (absolutely terrible) "in the ditch" quilting and some diagonals. The fact that I can't seem to stitch a straight line / stay in the ditch is rather upsetting. I keep telling myself that it's just a quilt for my sofa and that the wiggly bits add character. Just keep practicing!

Here's hoping it won't be another six months before I finally finish this one. I'd quite like to use it for snuggling up on the sofa with when the weather is cooler this year and it has such pretty autumnal colours!

À bientôt (I hope) !
Love, me x